
1
Show the Full Shape
Front and side photos establish width, height, depth, silhouette, and the overall volume of the product.
 Create3D.io
Sign in or create your account to generate and manage your AI 3D models.
By continuing, you agree to our Terms and Privacy Policy.
Upload 2–4 photos of the same product or object and create one downloadable 3D model online. Front, side, back, and right or detail views give Create3D.io more information about the full shape, so you can build 3D assets for product pages, AR previews, design reviews, marketing, and 3D printing—without starting from a blank 3D scene.
This generation needs more credits than your current balance. Upgrade your plan or top up credits to start the Multiview to 3D task.
Create3D.io uses several views of the same real object to guide one 3D result. The front photo establishes the product identity, the side photo adds depth, and the back plus right or detail photos reveal features that would otherwise be estimated.
You do not need a professional scanning setup. Photograph the same object from clear, useful angles with a phone or camera, keep the pose and lighting consistent, and let Create3D.io turn the photo set into a practical 3D starting point.
One photo shows appearance, but not the complete form. A front, side, back, and right or detail photo set gives Create3D.io direct visual information about product depth, proportions, handles, openings, bases, and rear surfaces.
Front and side photos establish width, height, depth, silhouette, and the overall volume of the product.
Back and detail photos reveal straps, buttons, wheels, openings, labels, connectors, handles, and other important parts.
Consistent camera distance and object pose help the generated model follow the same product proportions across every angle.
Place one object against a simple background and keep it in the same position. Move the camera—or rotate the product—at a consistent distance so each photo adds a useful view without changing scale or perspective dramatically.
Photo checklist: use the same object and pose, avoid cropped edges, keep lighting soft and even, reduce reflections, and maintain a similar camera distance in every shot.
Start with a consistent photo set, choose how detailed the model should be, and generate one downloadable asset. Review the result before using it on a product page, in AR, for a design presentation, or as a starting point for 3D printing.
Add front and side photos first, then include back and right-side or detail views when available.
Select texture detail, geometry quality, and triangle or quad topology for the intended use.
Inspect the product from every angle, then export the format required by your store, AR viewer, design software, or print workflow.
Multiple product photos are especially useful when the 3D model must resemble a real item. Use the result for interactive product experiences, design communication, catalogs, prototypes, sales content, and customer presentations.
Turn prototype and product photos into 3D references for internal reviews, client presentations, and early design decisions.
Create interactive product assets for online stores, product detail pages, 360° viewers, and richer catalog experiences.
Prepare GLB or USDZ assets for web-based AR, mobile previews, virtual placement, and customer product demonstrations.
Create a 3D starting point from physical references, then repair, scale, measure, and export STL or 3MF for prototyping.
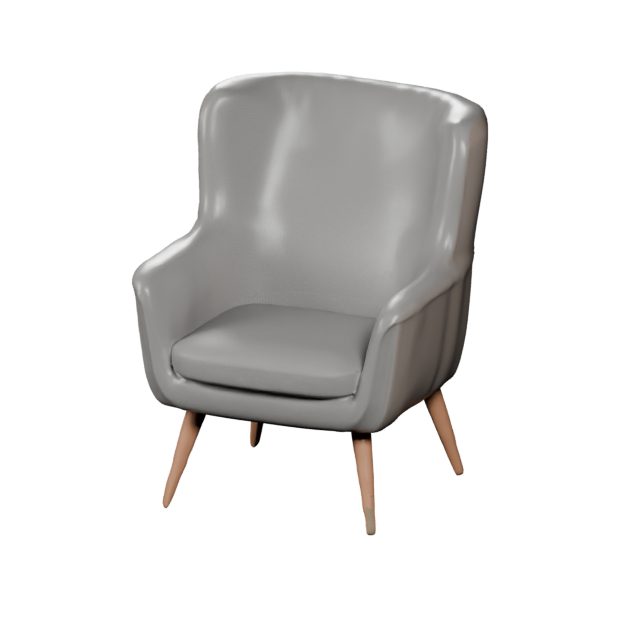
Convert front, side, and back photos of chairs, lamps, decor, fixtures, and small furnishings into reviewable 3D assets.
Create 3D representations of toys, crafts, figurines, accessories, ceramics, and small products for display or planning.
Reuse the 3D asset for product renders, campaign visuals, sales decks, social posts, thumbnails, and launch materials.
Build visual 3D references for product archives, training materials, museum collections, classrooms, and documentation.
A single photo is useful for a quick concept. Choose a multi-photo workflow when customers, clients, or production teams need to see the real object from several sides and important features cannot be left to estimation.
Use several photos for handles, legs, wheels, straps, panels, controls, openings, bases, and asymmetrical shapes.
Use multiple references when the output must follow an existing product, prototype, package, collectible, or handmade item.
Add back and side views for interactive product viewers, AR previews, 360° presentations, and digital catalogs.
Complex furniture, tools, footwear, bags, appliances, toys, and mechanical products benefit from more visual evidence.
Use multiple photos when a design or printing workflow needs a more complete starting shape before cleanup and measurement.
Create a model that can be inspected from every angle during product reviews, sales discussions, and design approvals.
The best method depends on how many photos you have and how closely the model needs to follow the real object. A 2–4 photo workflow offers more shape guidance than one image without requiring the large capture set of traditional photogrammetry.
| What matters to you | Multiple photos to 3D | Single image to 3D | Photogrammetry |
|---|---|---|---|
| Photos needed | 2–4 photos | 1 photo | 20–200+ photos |
| Shape & side accuracy | Improved — guided by several angles | Limited — one side only | Detailed when capture coverage and processing are strong |
| Speed to first model | Fast online workflow | Fastest setup | Longer capture and processing workflow |
| Skill required | Beginner friendly | Beginner friendly | More capture and software knowledge |
| Handles hidden surfaces | Better guided when back and side photos are included | Often guessed | Captured when the photo set provides full coverage |
| Cleanup before final use | Review and cleanup may still be needed | Review and cleanup may still be needed | Often requires scan cleanup and retopology |
| Best for | Products, furniture, tools, collectibles, and real-object references | Quick concepts from one image | Highly detailed real-world scans |
| Export formats | GLB, OBJ, FBX, STL, USDZ, more | GLB, OBJ, FBX, STL, USDZ, more | Varies by software |
Using multiple photos is a practical middle ground: it provides more direct information about the object than one image, while requiring far fewer photos and less processing than a full photogrammetry scan. Only have one photo? Try Image to 3D. Starting from an idea instead? Try Text to 3D.
Choose the file format that fits the next step: GLB for web product viewers, USDZ for Apple AR, STL or 3MF for print preparation, and OBJ or FBX for editing and design tools.
Practical answers about photo count, capture quality, product use cases, file formats, photogrammetry, 3D printing, and commercial use.
Yes. Upload 2 to 4 photos of the same product or object from different angles. Create3D.io combines the photo set into one downloadable 3D model.
Use at least a front photo and a side photo. Adding back and right-side or detail photos gives the AI more information about hidden surfaces, depth and product features.
Use one object per photo, keep the object in the same pose, photograph it from a similar distance, use even lighting and choose a clean background with clear separation around the object.
Yes. Clear photos from a modern phone or camera can work well. Avoid motion blur, heavy shadows, wide-angle distortion, cropped edges and major lighting changes between views.
Yes. Multiple product photos can be used to create 3D assets for product pages, interactive viewers, catalogs, AR previews, design reviews and marketing content.
They describe the same general workflow: several views of the same object are used to create one 3D model. This Create3D.io page uses the clearer phrase multiple photos to 3D for product and real-object workflows.
Single photo to 3D is faster when only one image is available, but unseen sides must be estimated. Multiple photos provide direct visual references for the front, sides and back.
Photogrammetry usually requires many overlapping photos and additional processing to reconstruct a scan. Create3D.io uses 2 to 4 reference photos to generate a practical 3D starting point with less capture work.
Products, shoes, bags, furniture, tools, toys, collectibles, small appliances, packaging, handmade goods and other objects with clear shapes and visible side details work well.
You can export STL or 3MF and then inspect, scale and repair the model before printing. Always review wall thickness, watertightness, dimensions and support requirements in your printing workflow.
Commercial rights depend on your Create3D.io plan and the rights you hold to the uploaded photos and object design. Upload only images you own or are authorized to use.
Create3D.io supports GLB, OBJ, FBX, STL, PLY, USDZ and 3MF for web 3D, AR, product visualization, design, editing and 3D printing workflows.
Upload 2–4 clear photos of the same product or object. Create3D.io combines the views into one 3D asset you can review and export for e-commerce, AR, design presentations, catalogs, marketing, and print preparation.